

Tensegrity Table
Project Overview
This project was the result of a rusted, broken lacrosse rebounder, and a desire to make something super cool with the parts. With a recent interest in the idea of tensegrity and access to a bunch of aluminum scrap metal, I went to work designing this project in which I gained tons of hands-on experience working with different manufacturing processes and had the opportunity to apply my physics and static systems knowledge to create a system of tensional integrity.
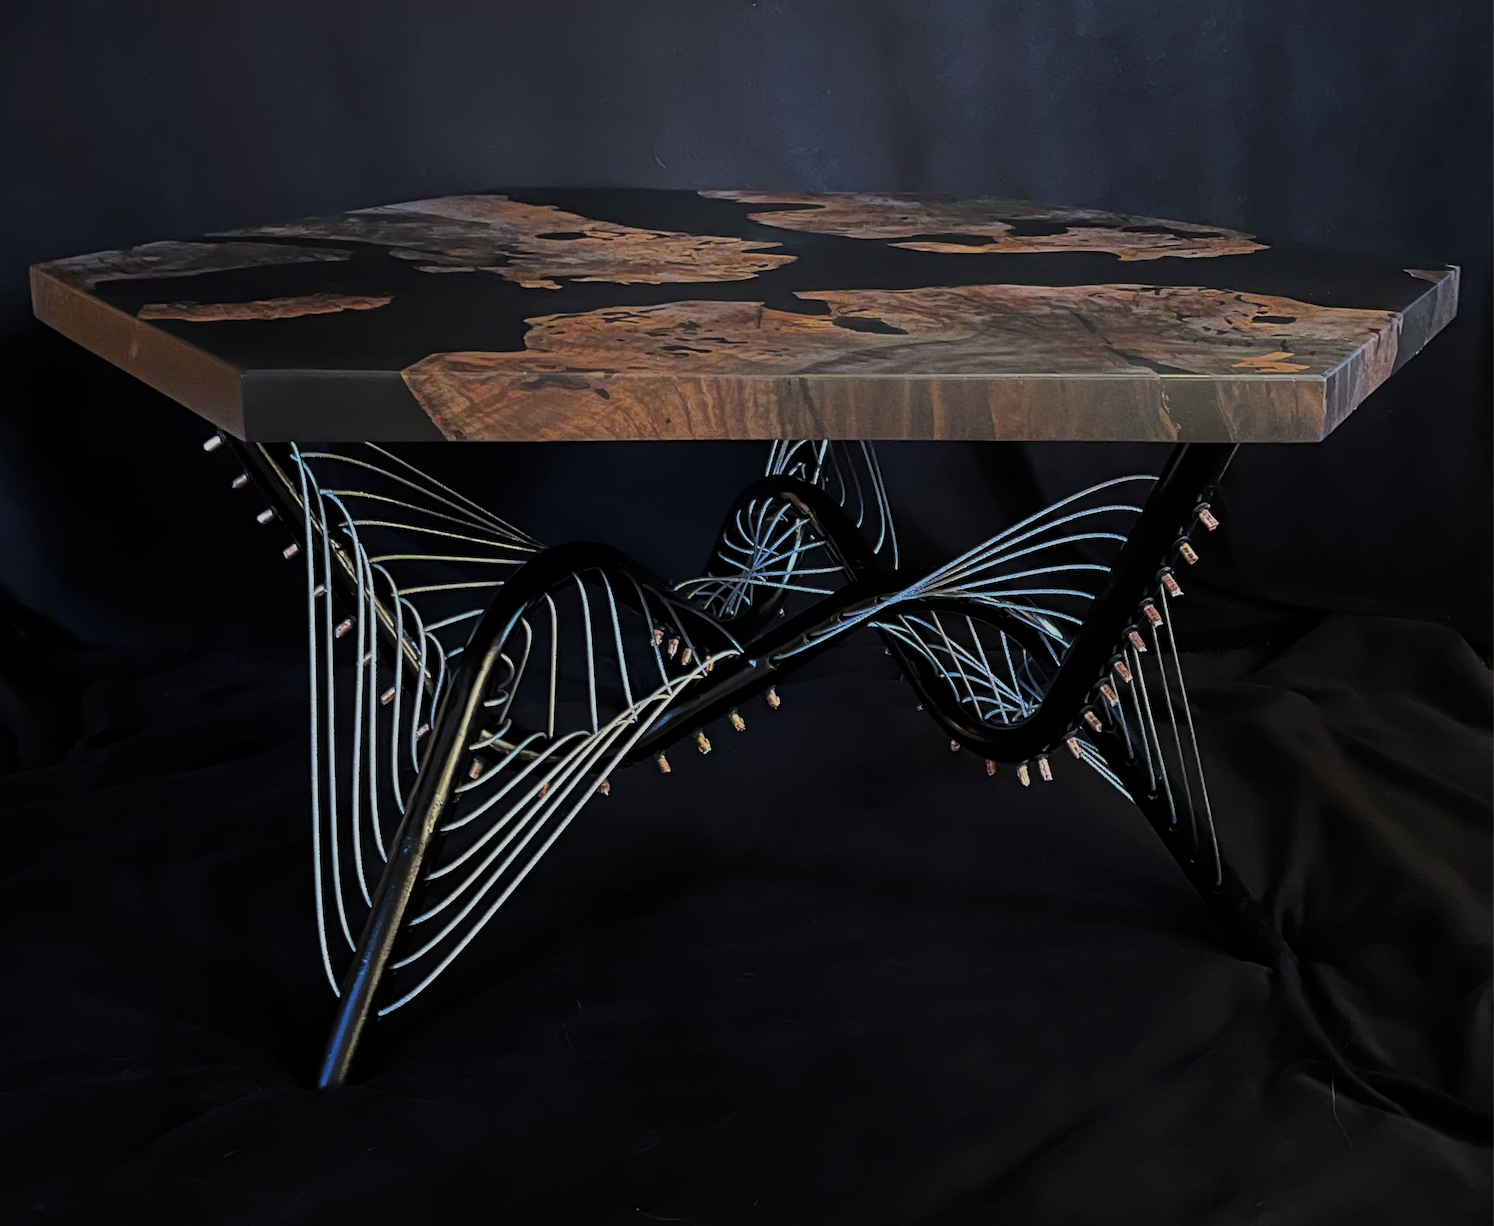
Finished Tensegrity Table

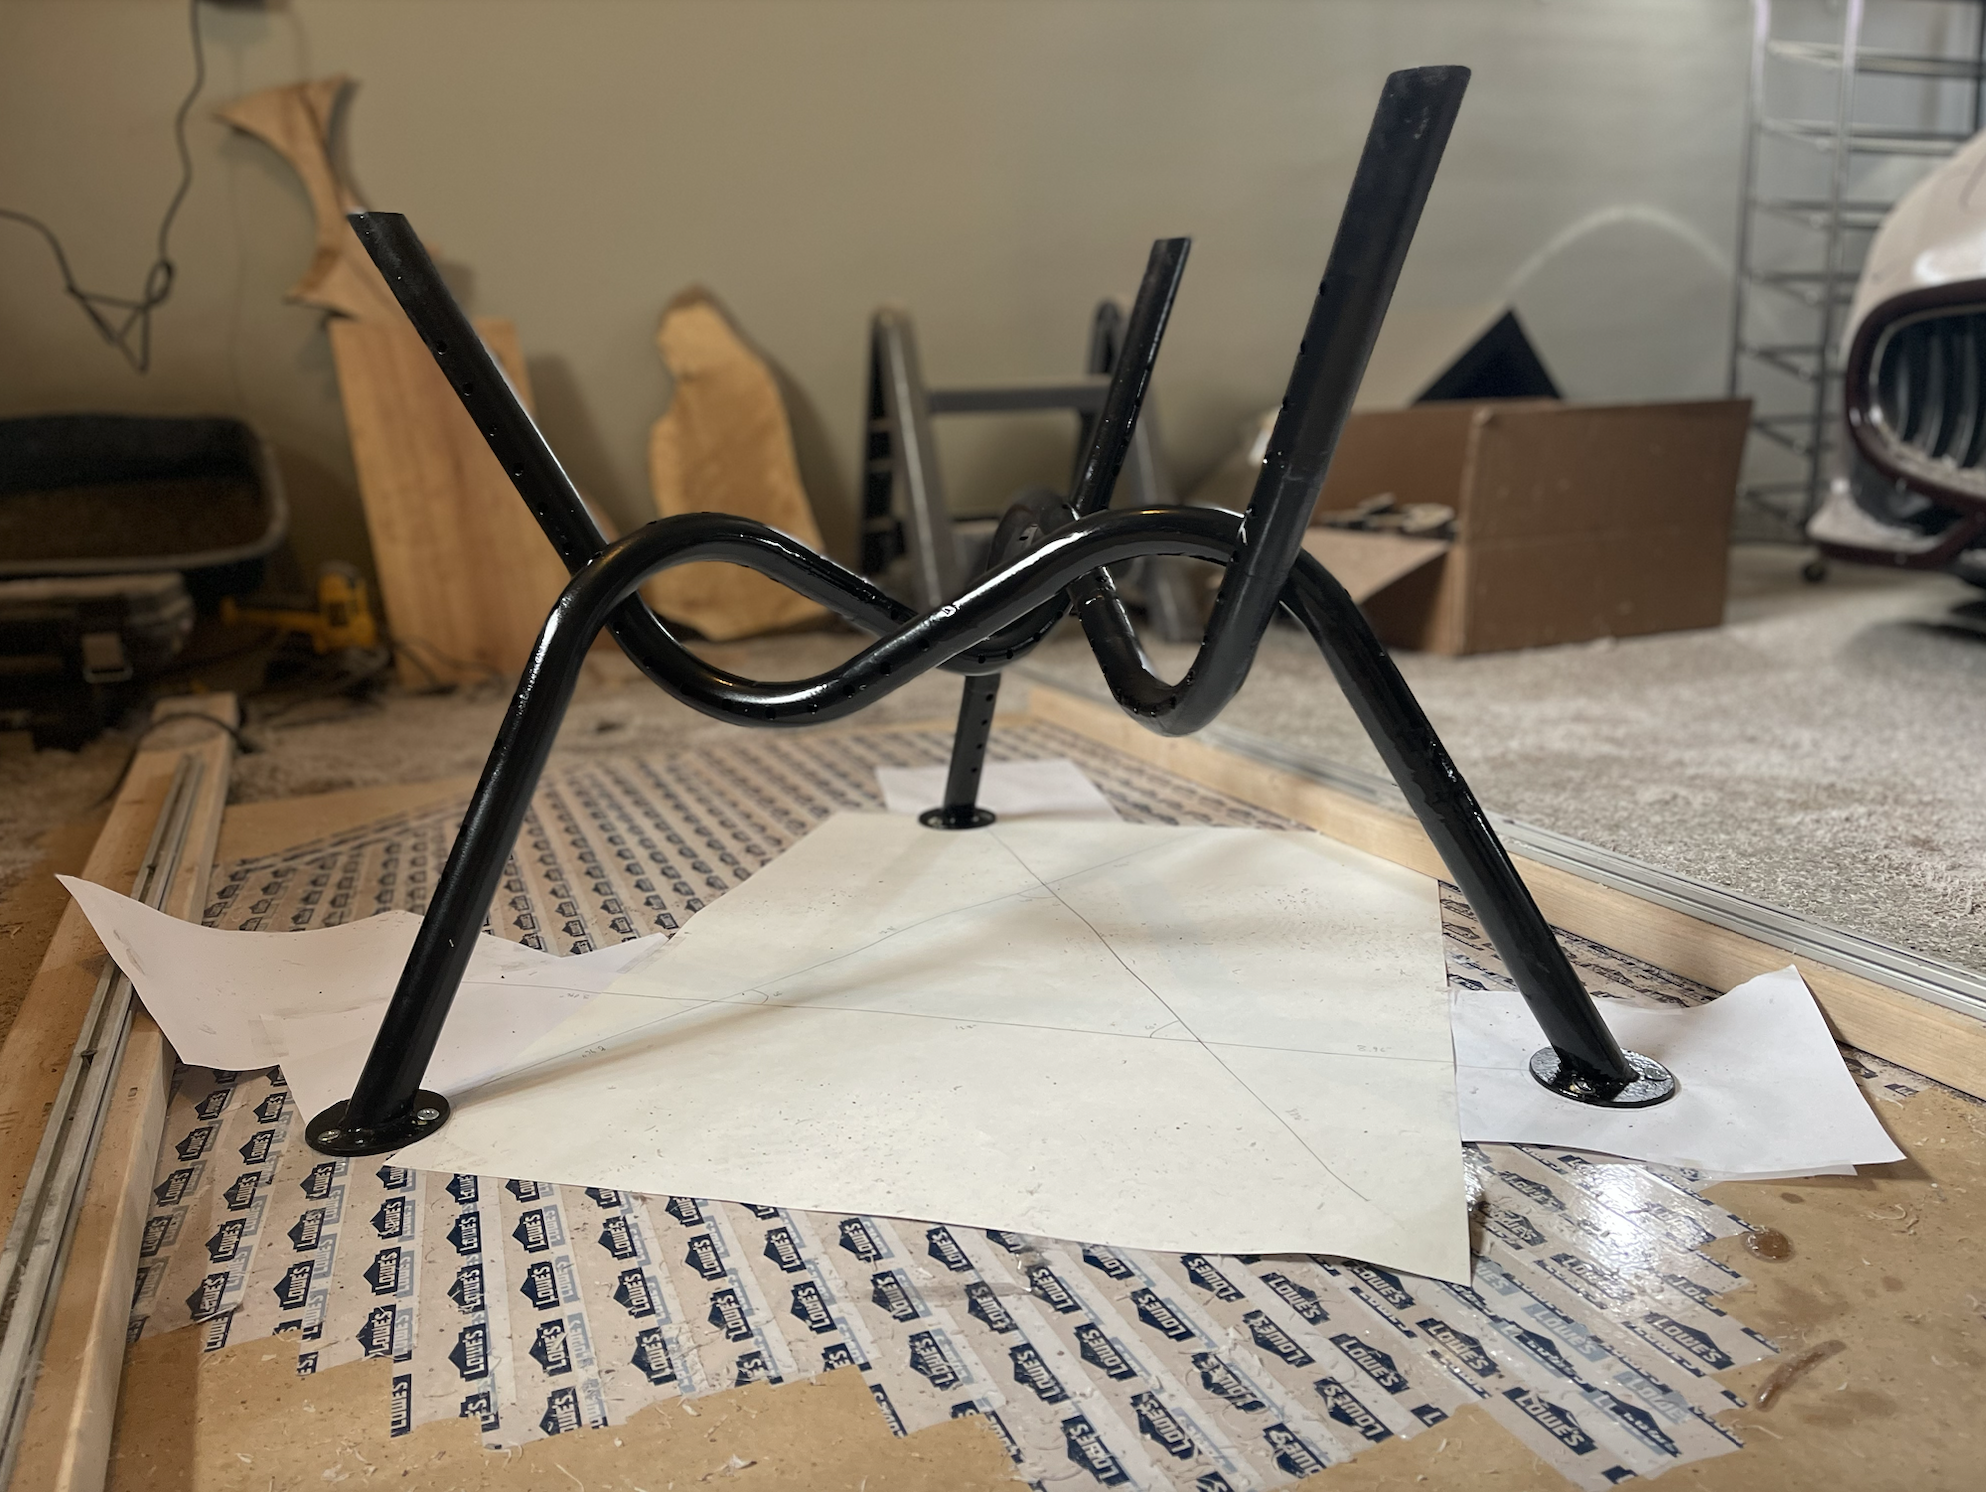
Repurposed Lacrosse Rebounder Base
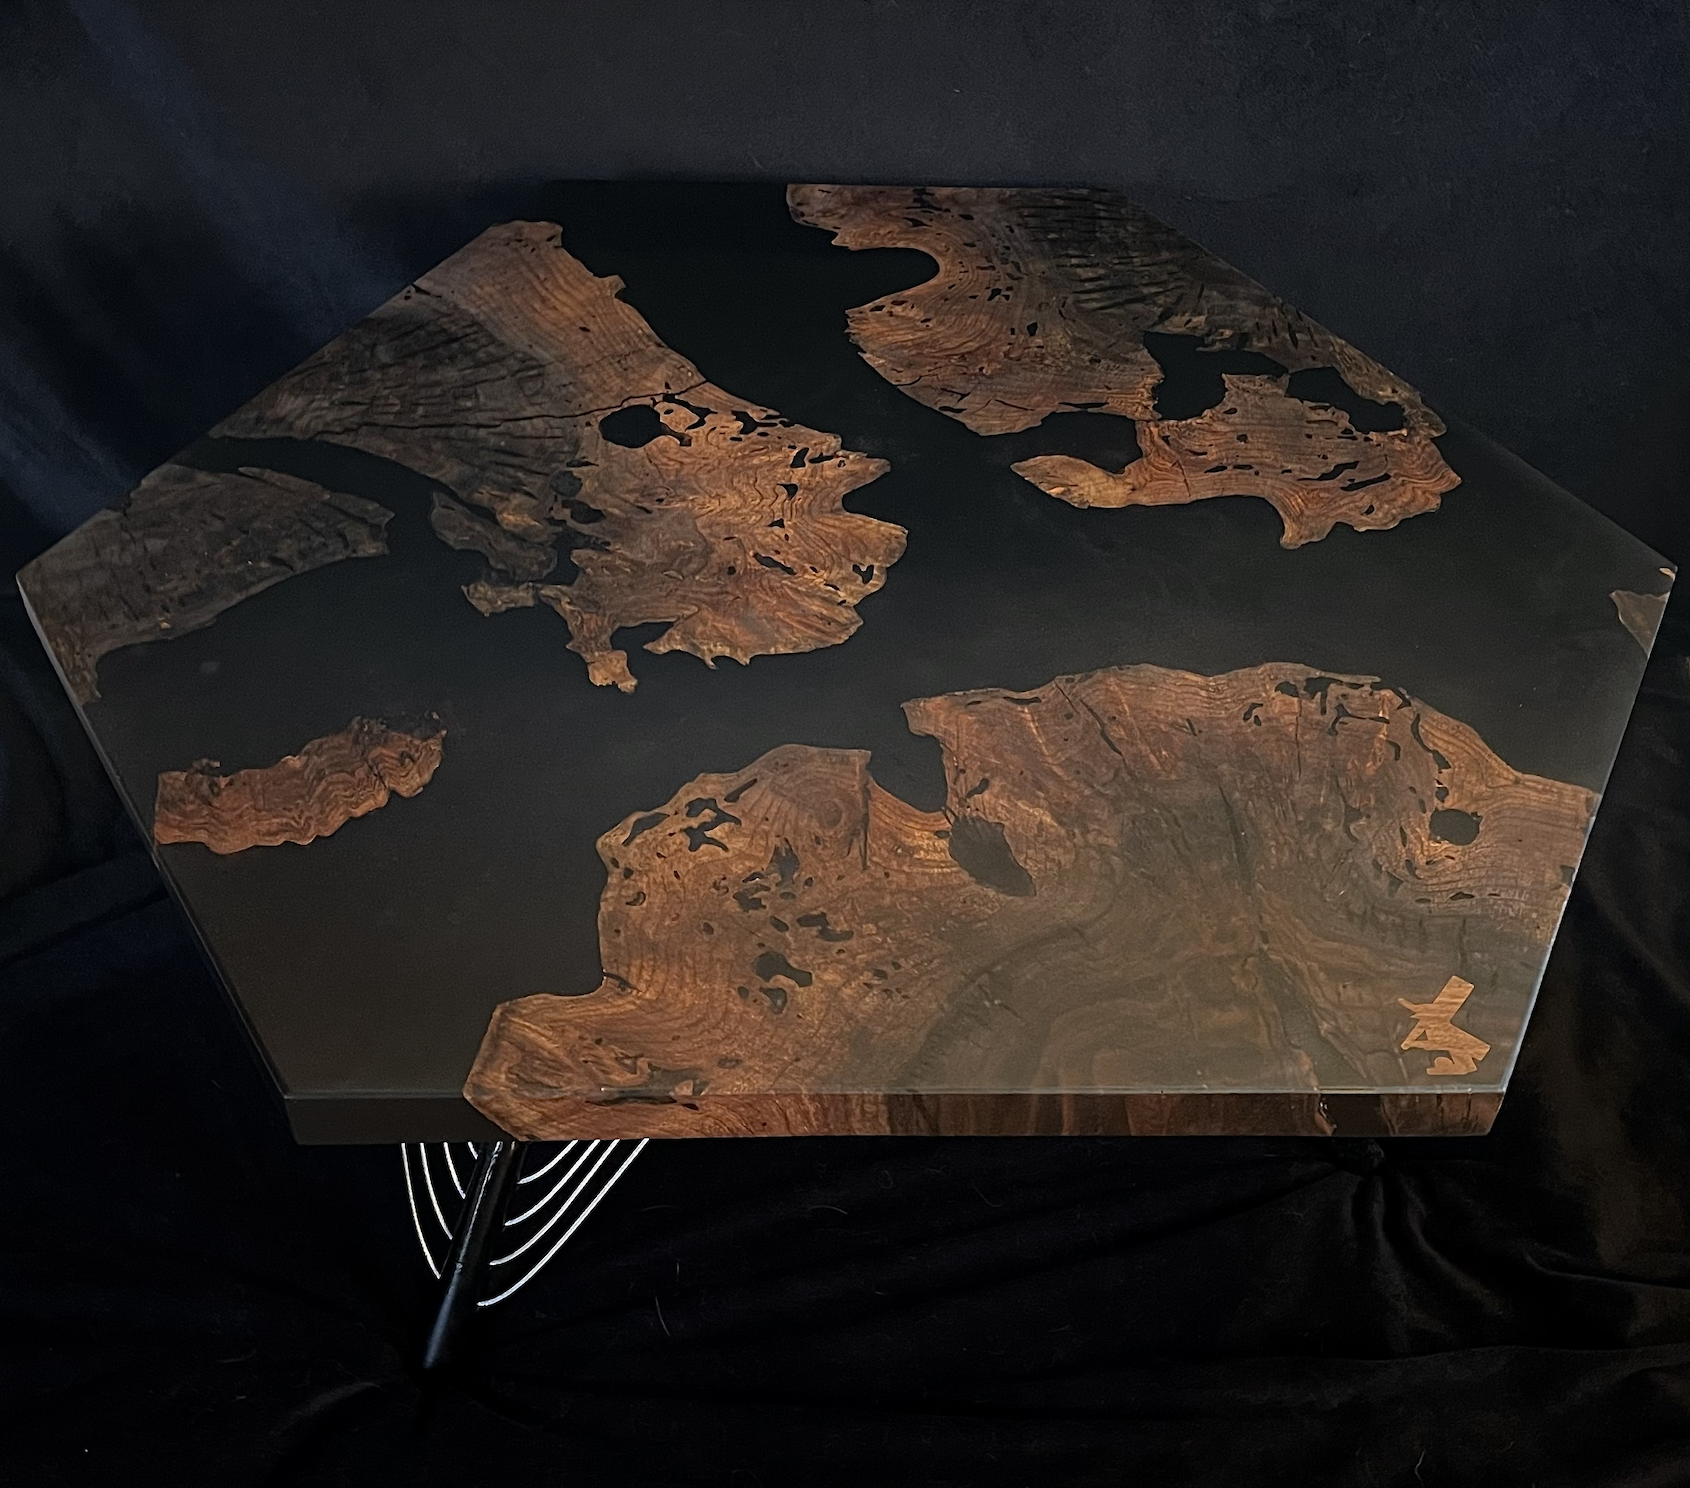
Wood and Epoxy Tabletop
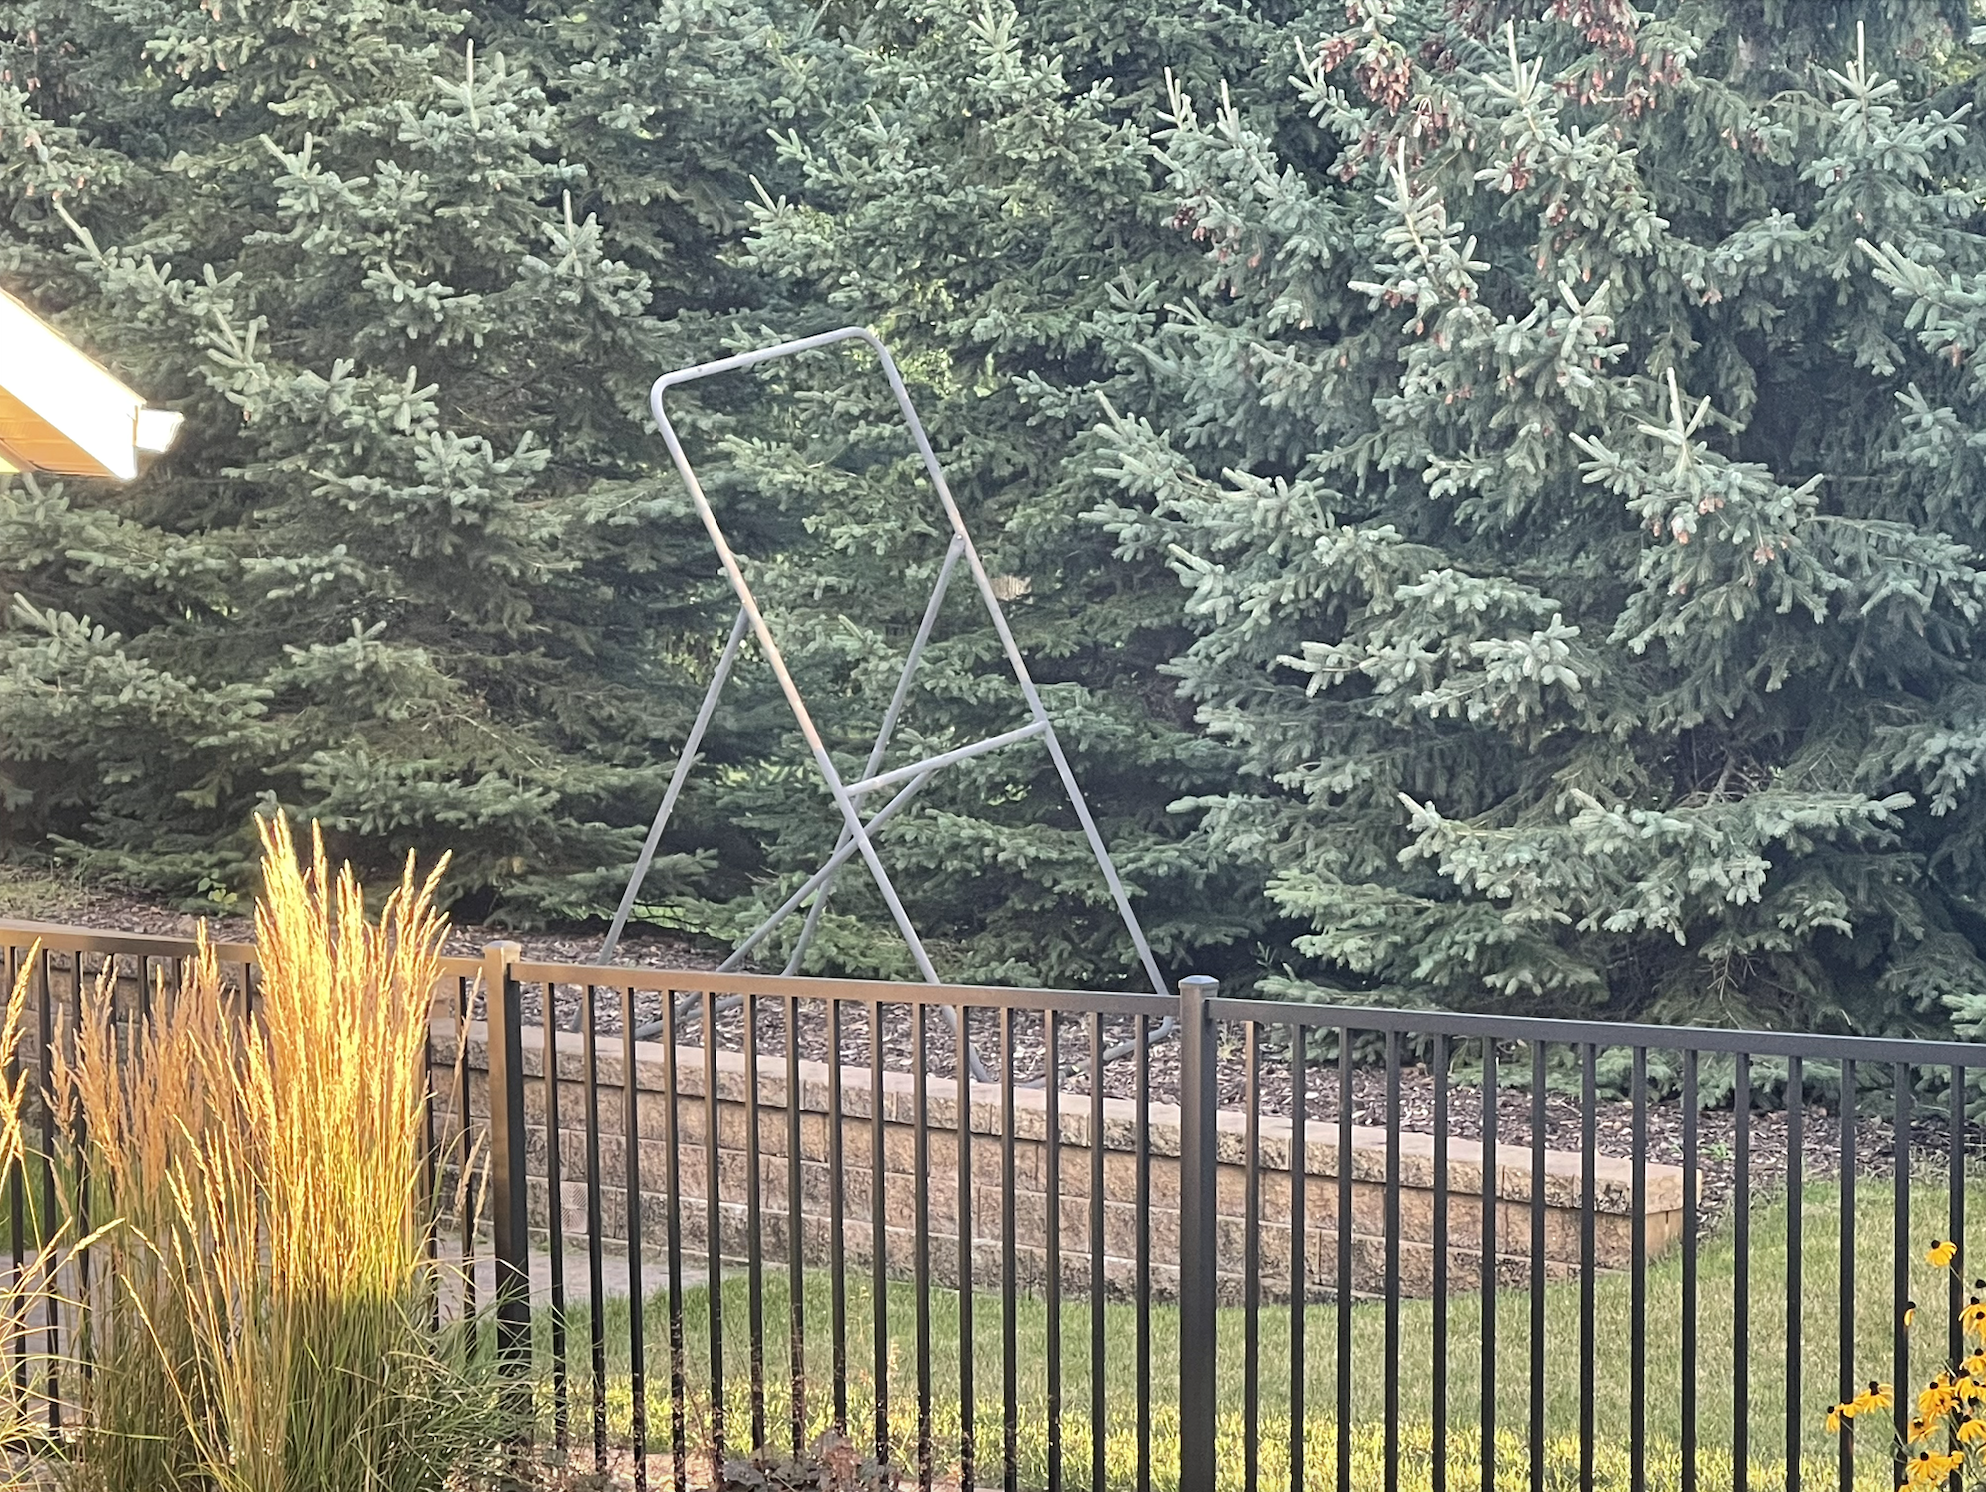
Broken Lacrosse Rebounder in Backyard
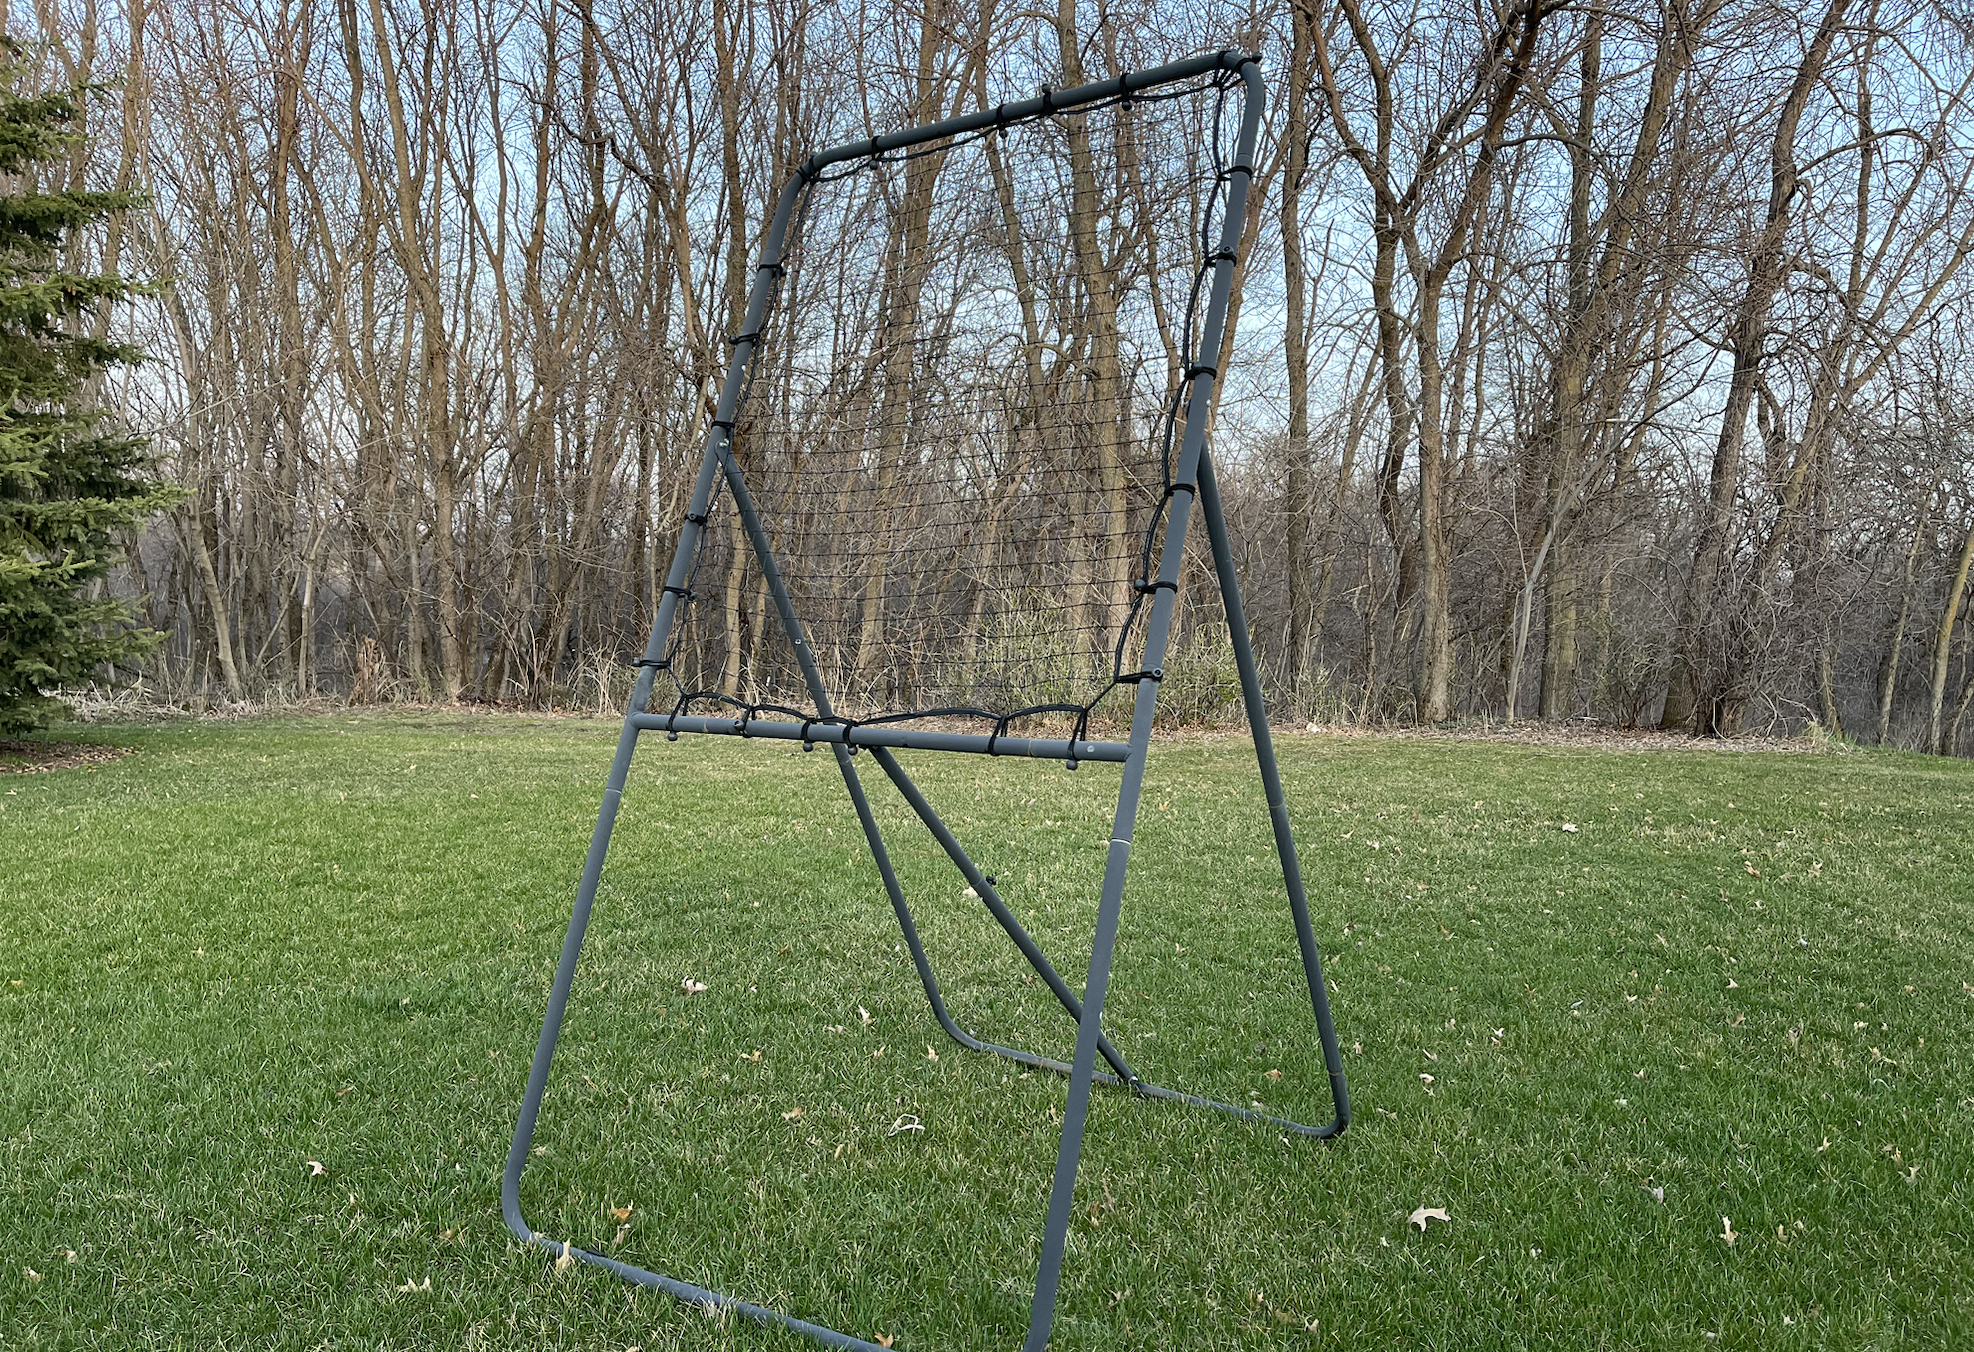
Functioning Lacrosse Rebounder in Backyard
Tensegrity
Tensegrity is defined as tensional integrity or floating compression: a structural principle based on the use of isolated components in compression inside a net of contiguous tension in such a way that the compressed members (usually bars) don't touch eachother, and the pre-stressed tensioned members (usually cables) define the system spatially.
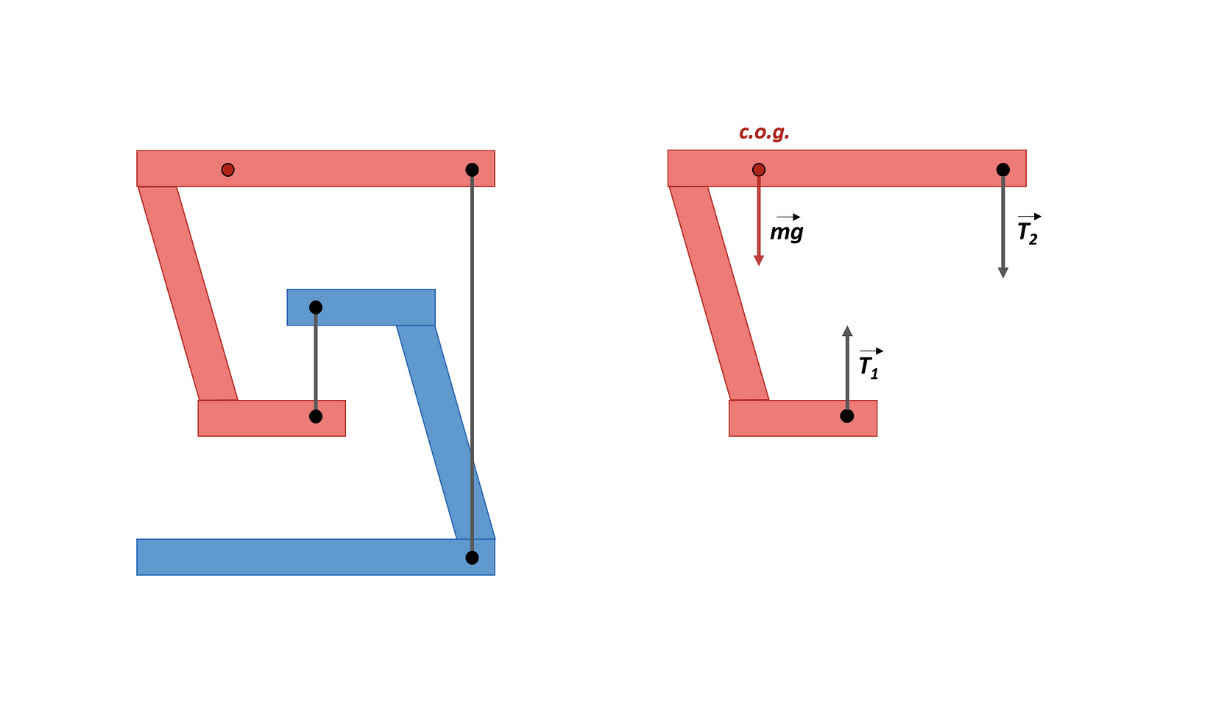
Tensegrity Model Free Body Diagram
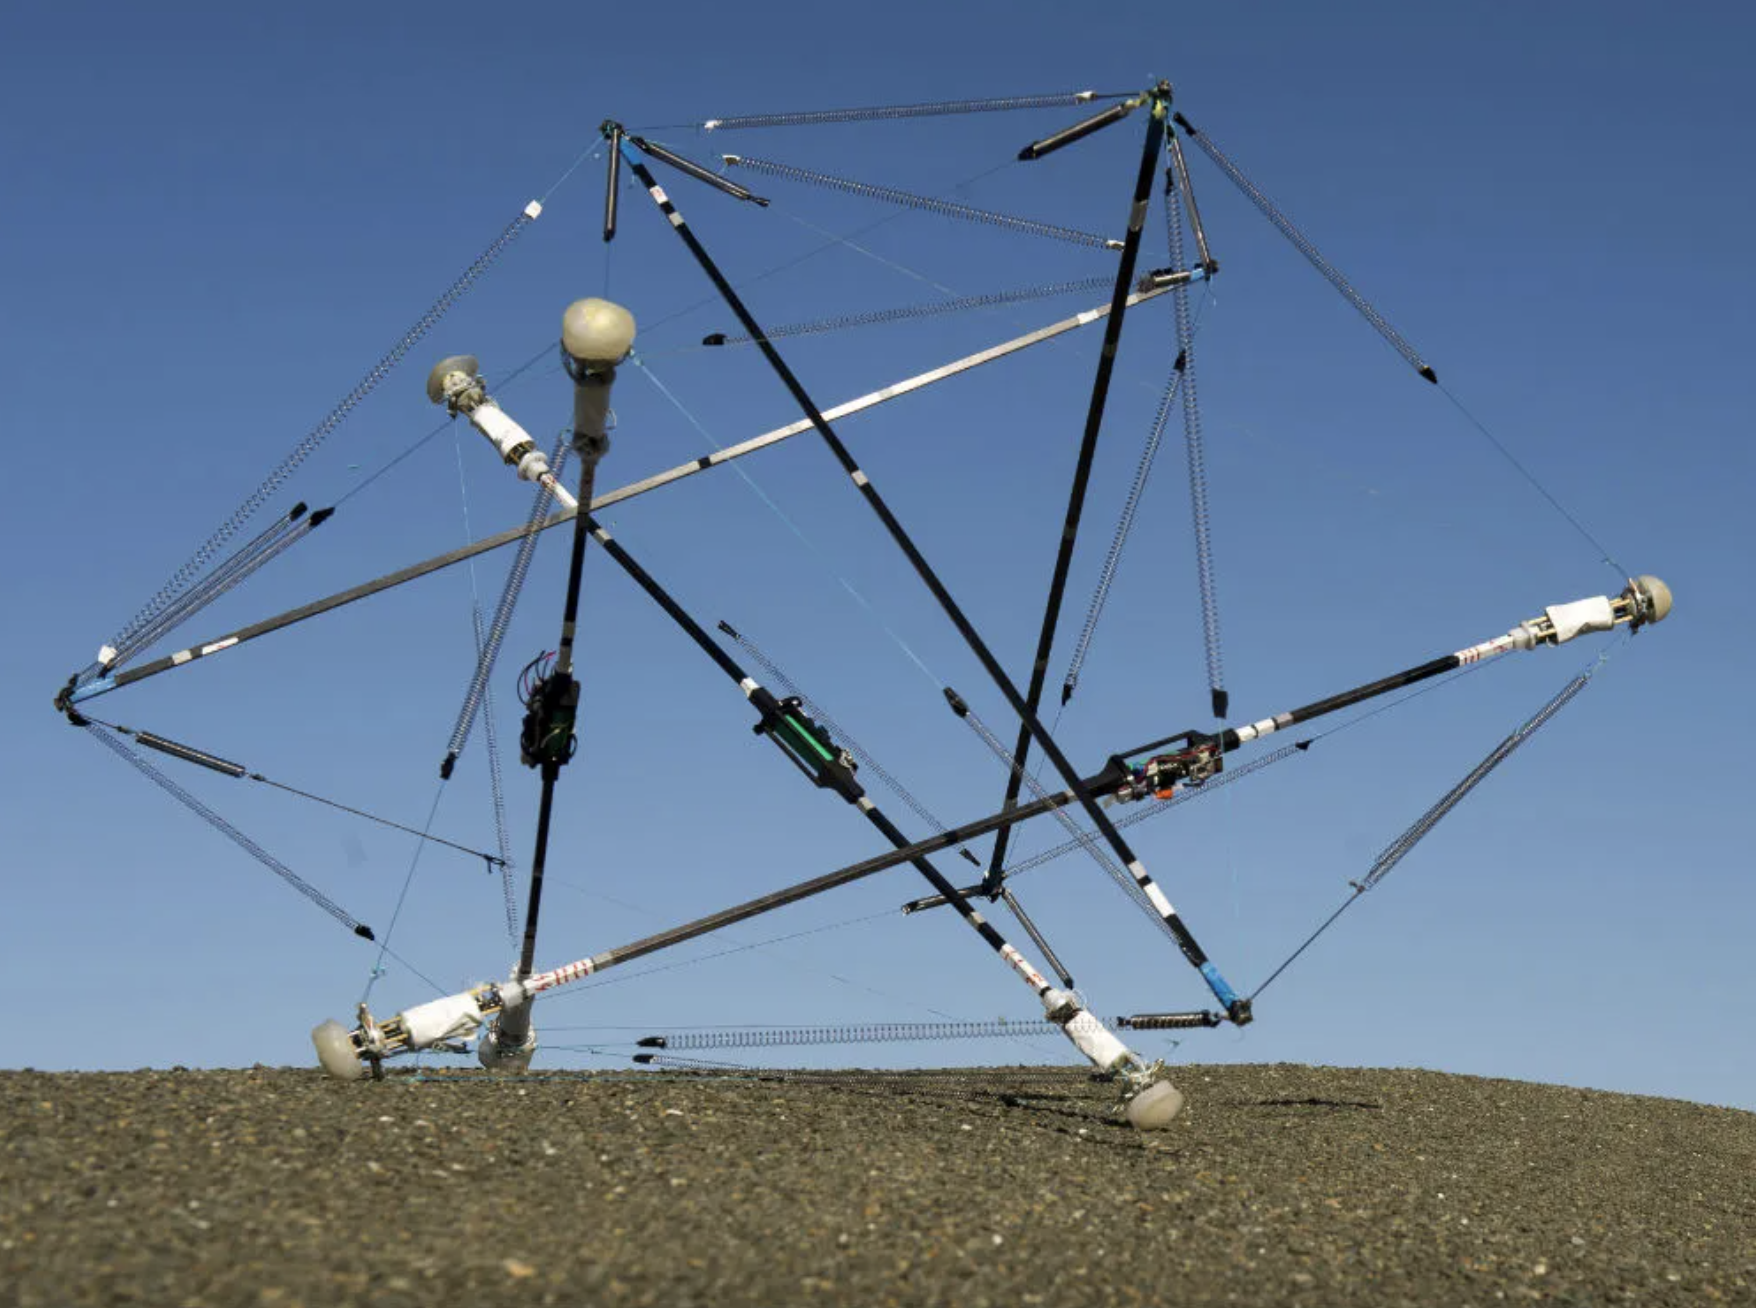
Tensegrity Sculpture
Constrained Design Choices
The most daunting challenge I faced in this project was the limitation of material. I only had one rebounder to work with, so I had to be very intentional with my design and cuts. I utilized all six of the corners from the rebounder for this project in making the three legs of the base to allow them to overlap cleanly and make a sound structure. As well, limited material meant a lot of prototyping and iteration before I made any permanent decisions to ensure I was making the most efficient use of material. I did however, originally design the table to be larger, but had to downsize due to structural constraints, and made the mistake of drilling all the holes in preparation for the larger design before realizing this. Nonetheless, I was able to repurpose those drilled pieces into the smaller design at the expense of filling in a couple of the holes with Bondo as their corresponding holes were cut off in the downsize.
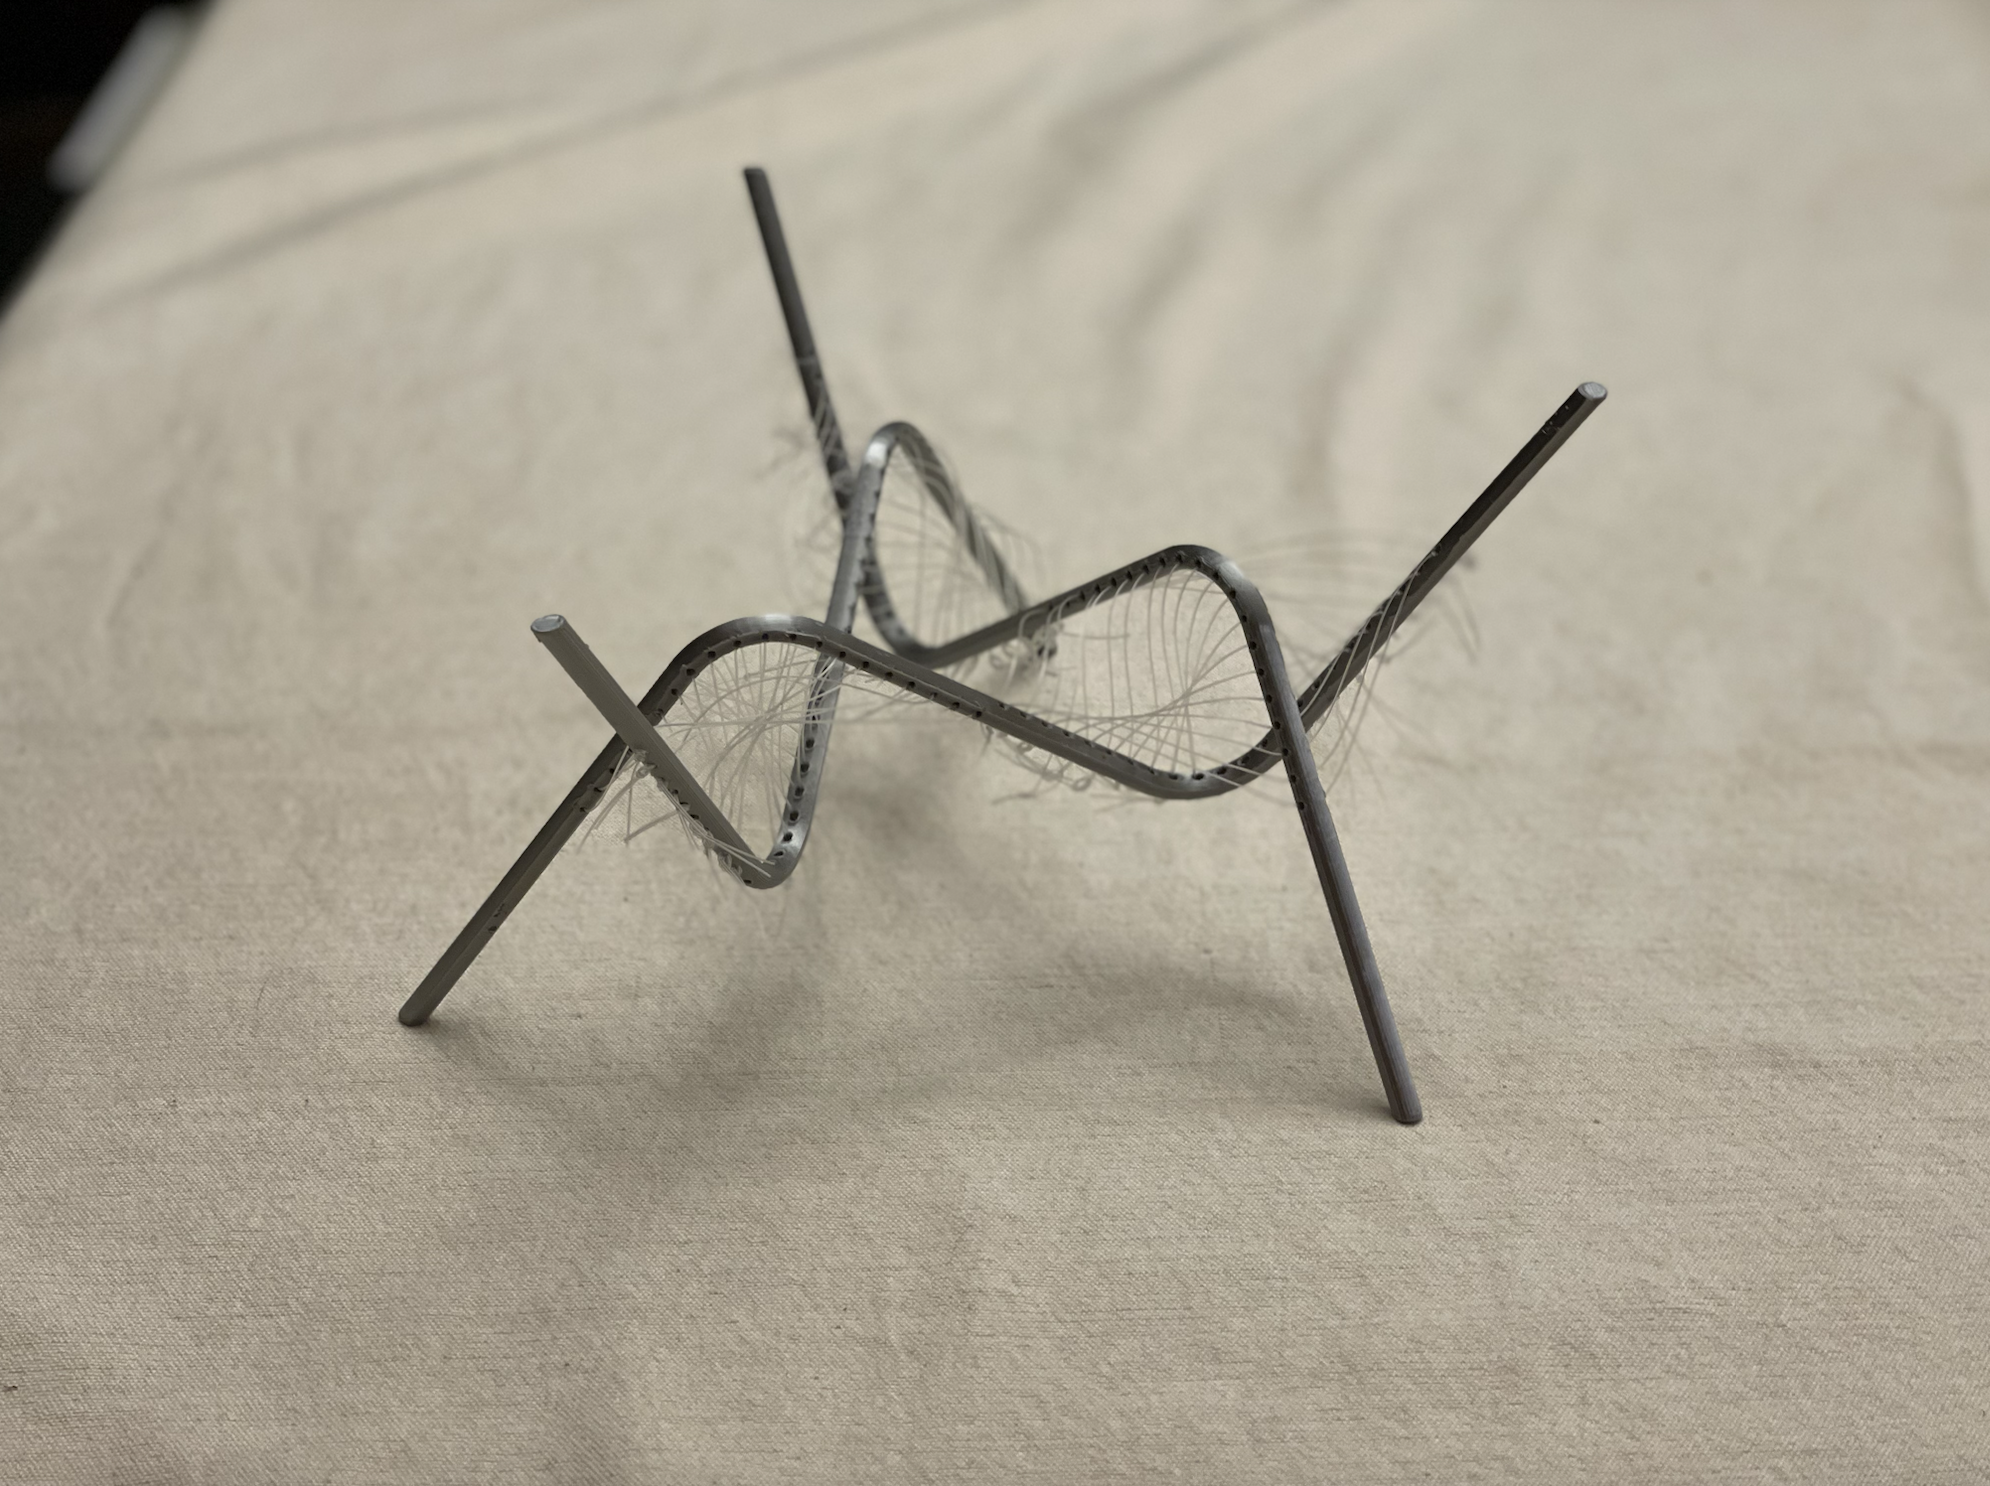
Rapid Prototyped Proof of Concept
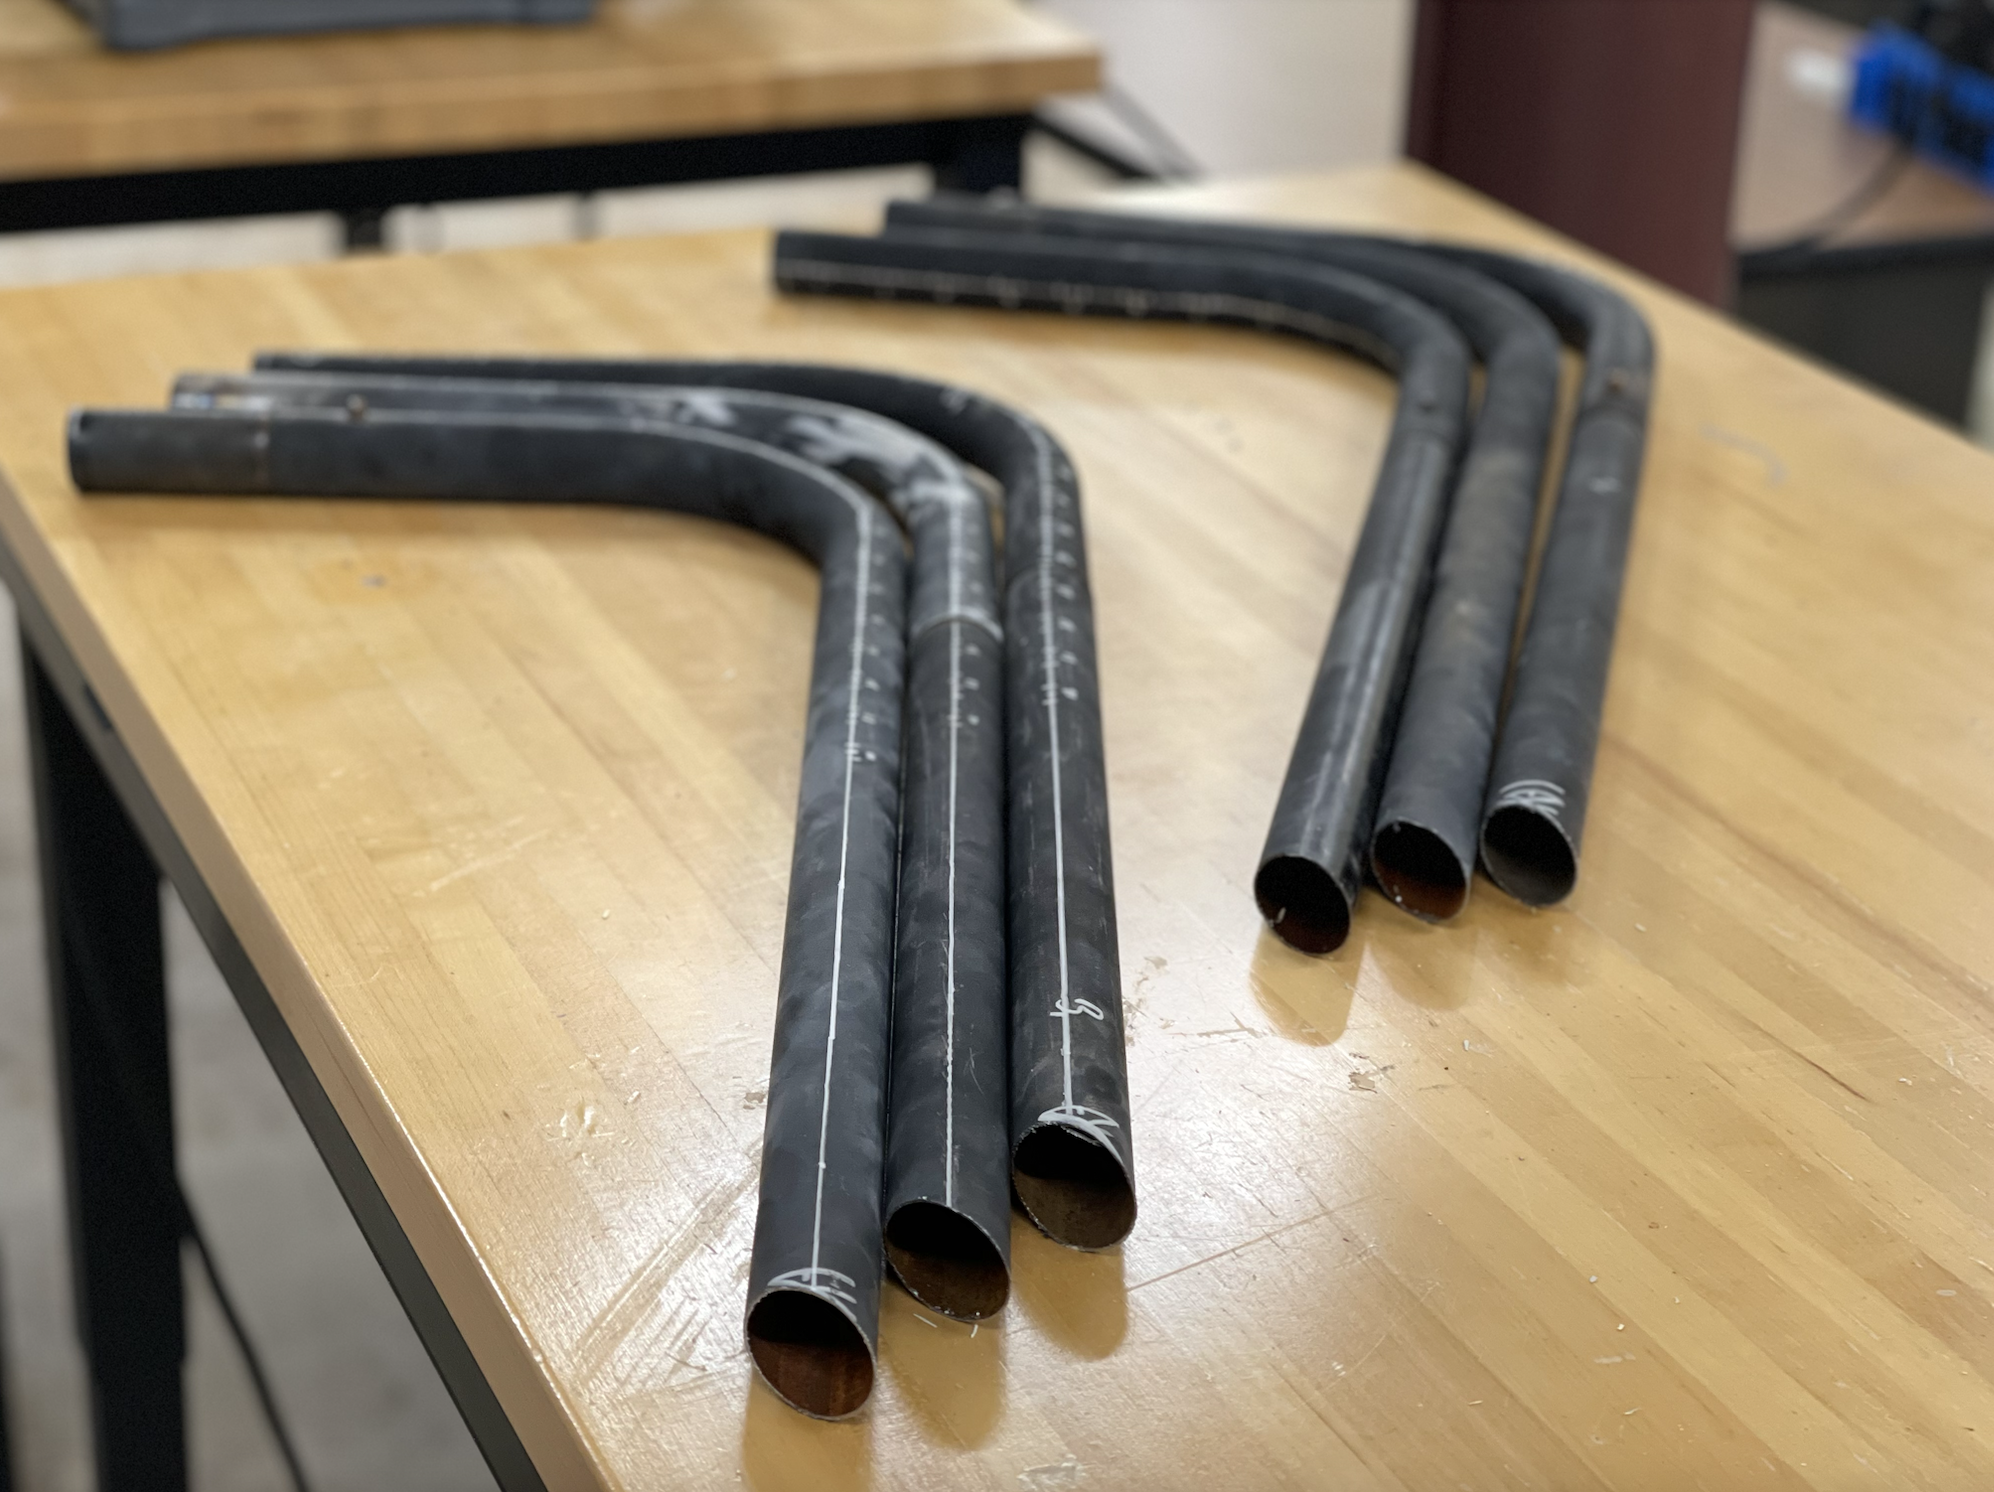
Aluminum Cut and Prepared for Brazing
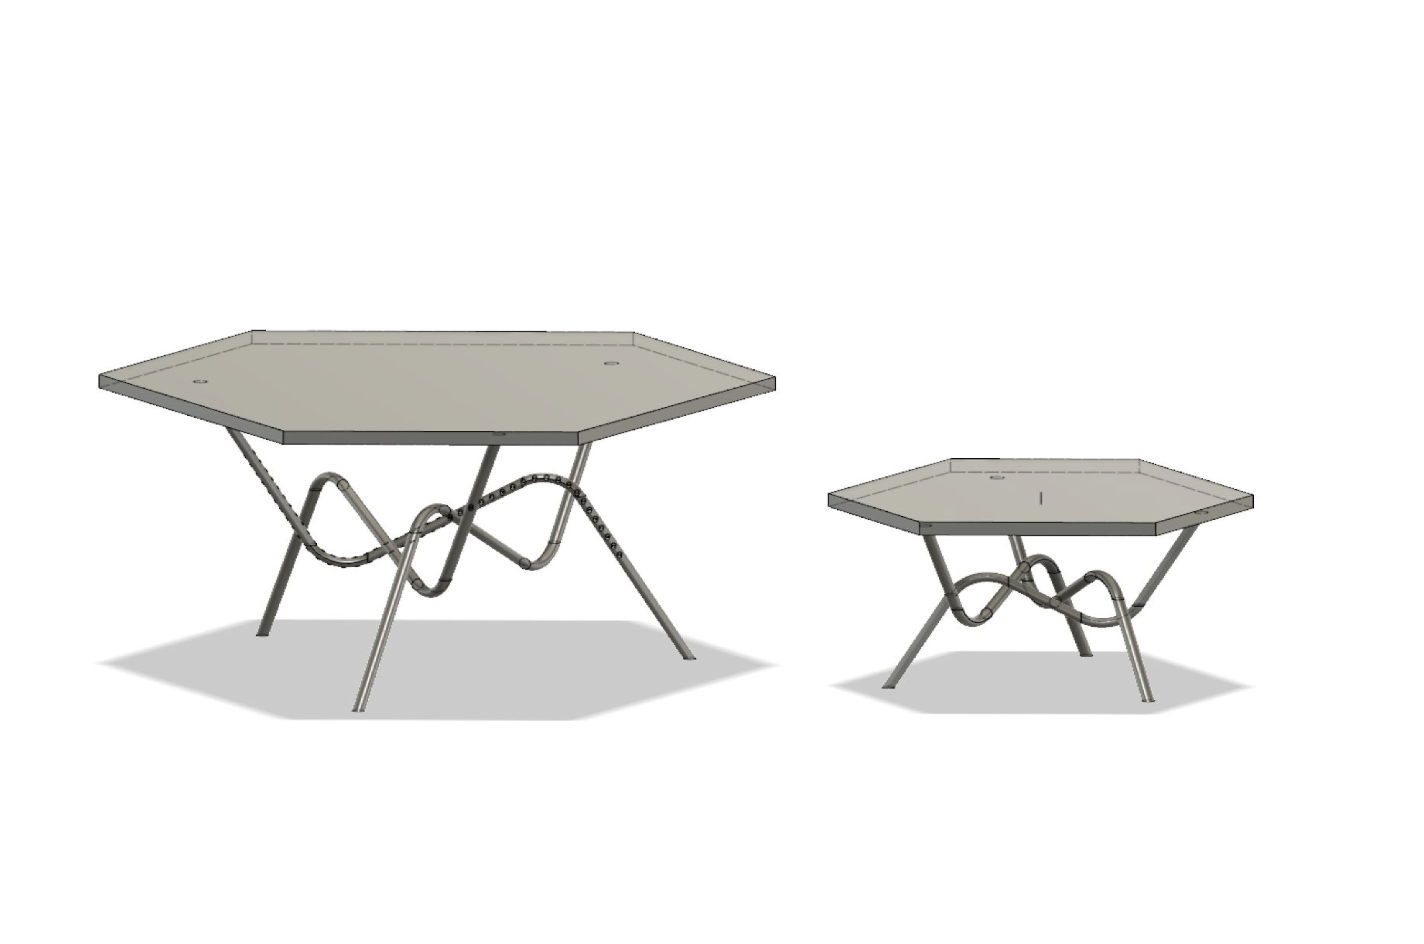
Initial and Final Table Design Iteration
Challenges and Obstacles
I faced many challenges throughout this project, many revolving around the fragility of material due to the reclaimed nature of the lacrosse rebounder. The aluminum was thin and rusting, leading to structural concerns. I was able to patch any small cracks with Bondo and reinforce joints with steel splices. The aluminum was also super finicky to weld and would many times blow right through it, so figuring out an effective alternative took some time until I found a technique called brazing, which uses a filler metal with a lower melting point than the base metals being joined.
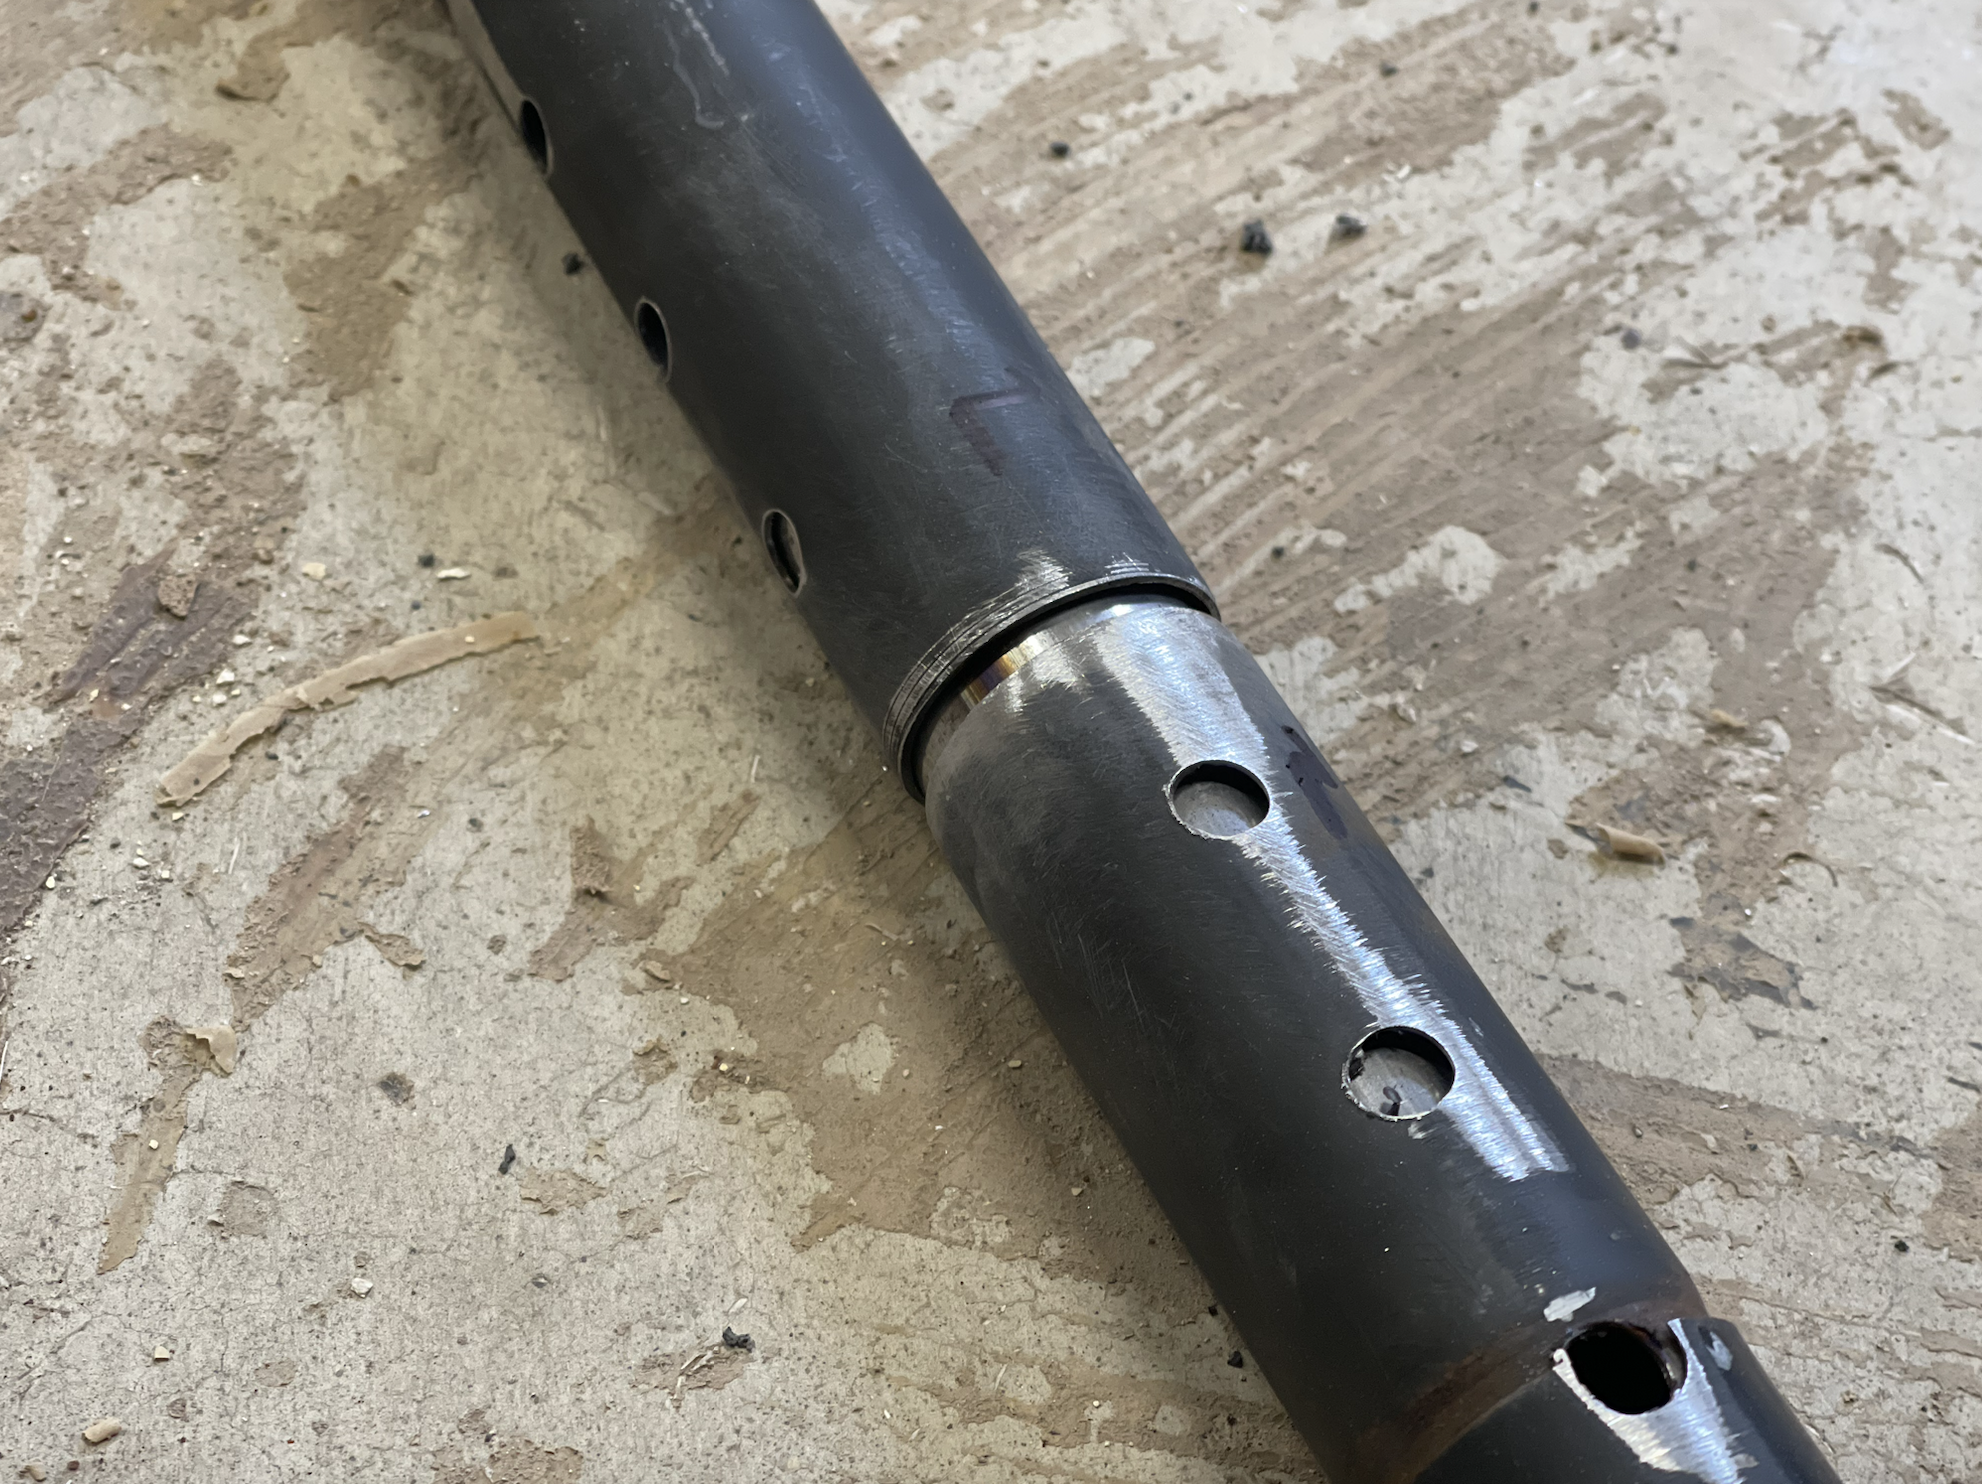
Steel Splice Reinforcement Inside Aluminum Joint
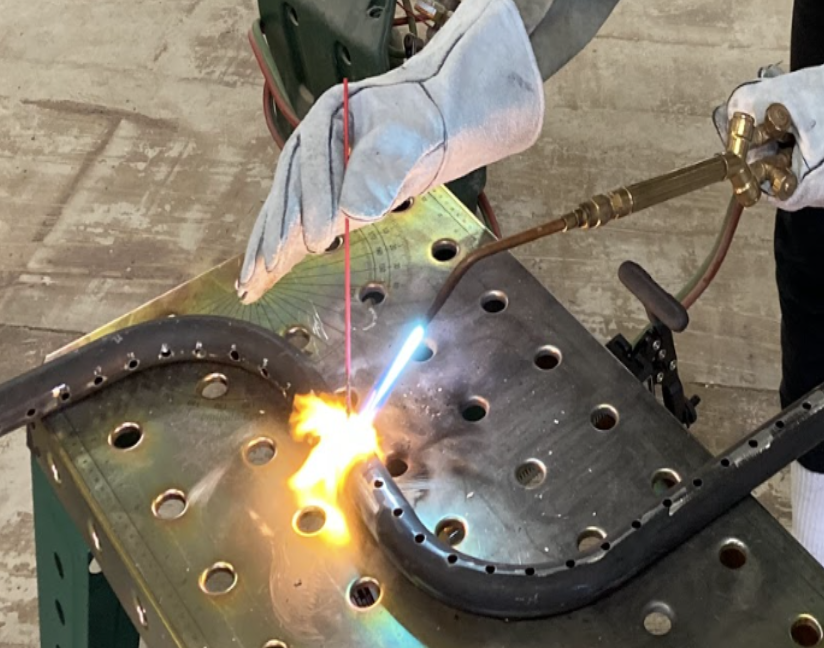
Brazing Technique for Joining Aluminum
Setup for Stringing Cables
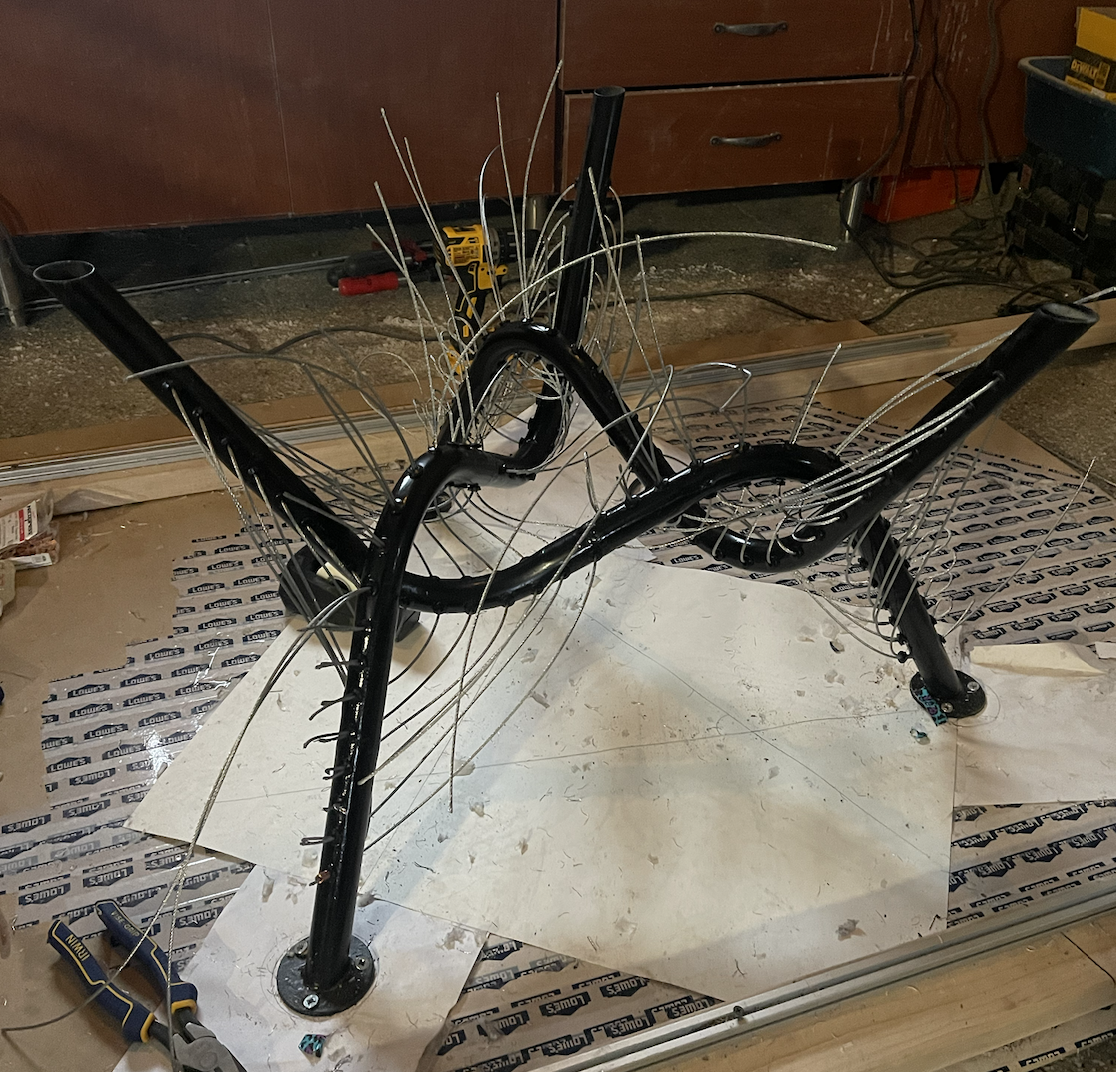
Tensioning of Cables Being Strung
In addition to the base, the tabletop was its own beast. I wanted to create a wood and epoxy tabletop to contrast the industrial aesthetic of the base. This involved milling down a slab of wood, creating a mold for the epoxy pour, and sanding and finishing the tabletop. You'd be surprised how useful a router and some jigs are.
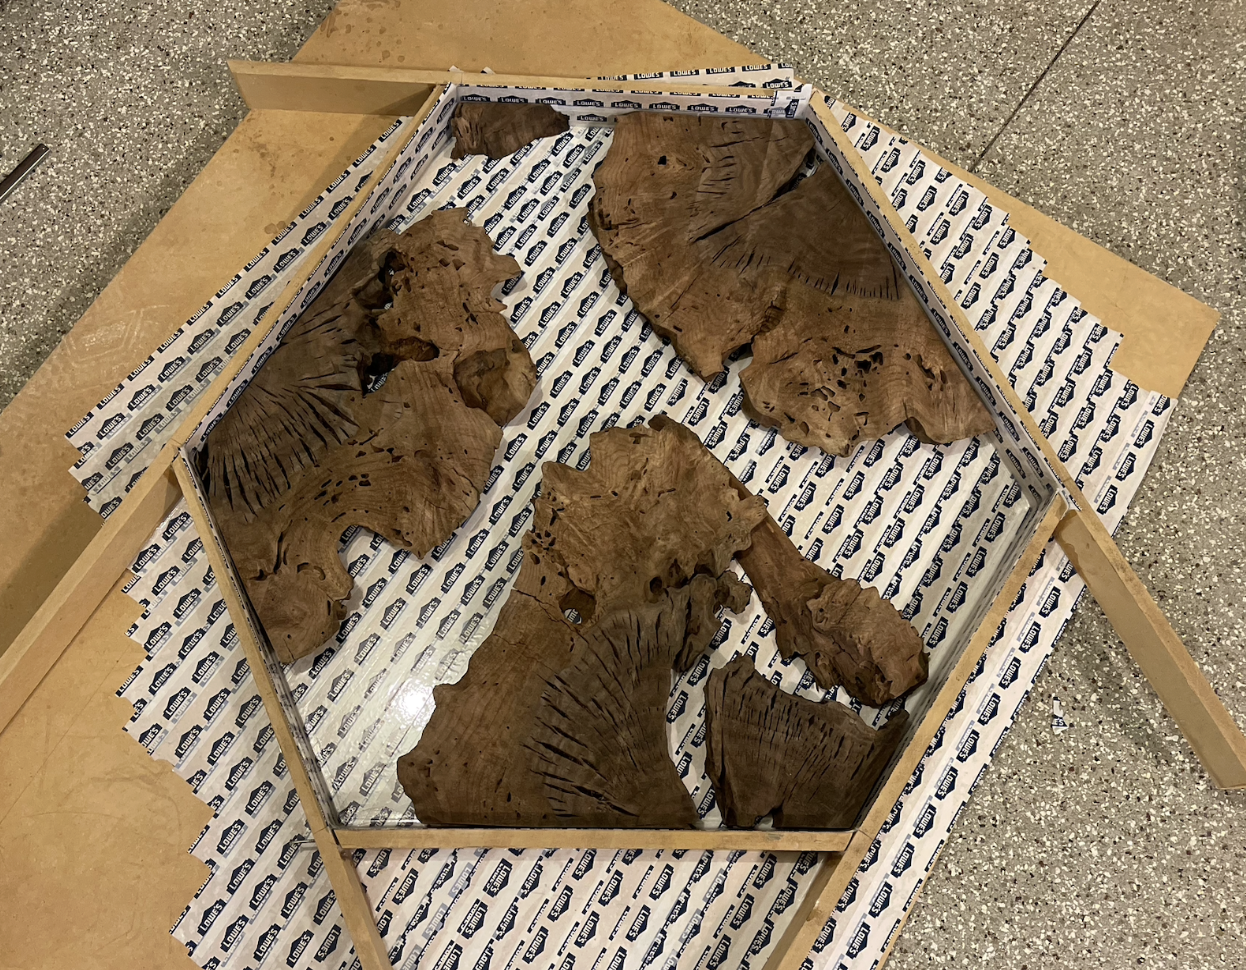
Setup for Epoxy Pour Mold
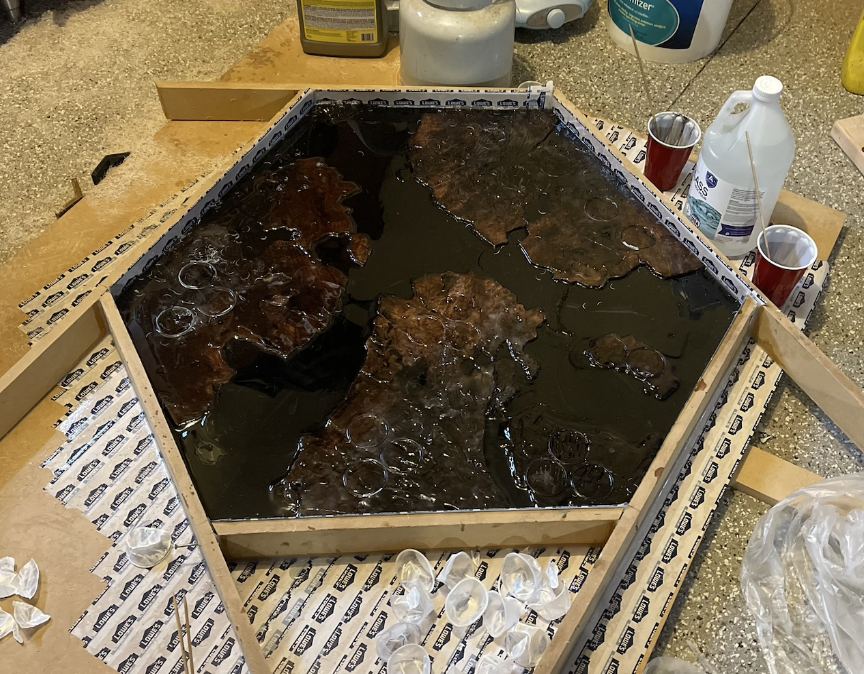
Cured Epoxy Tabletop
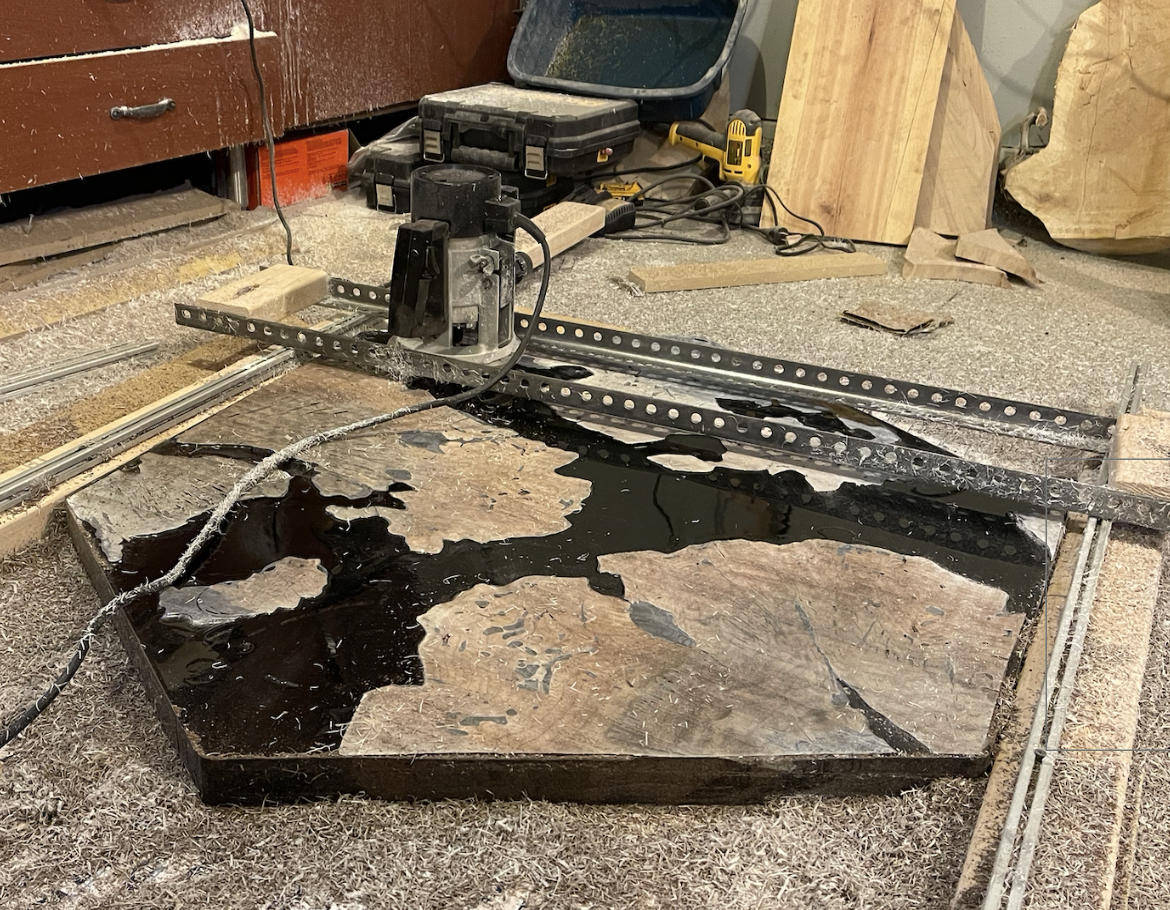
Leveling Tabletop Surface With Router Sled
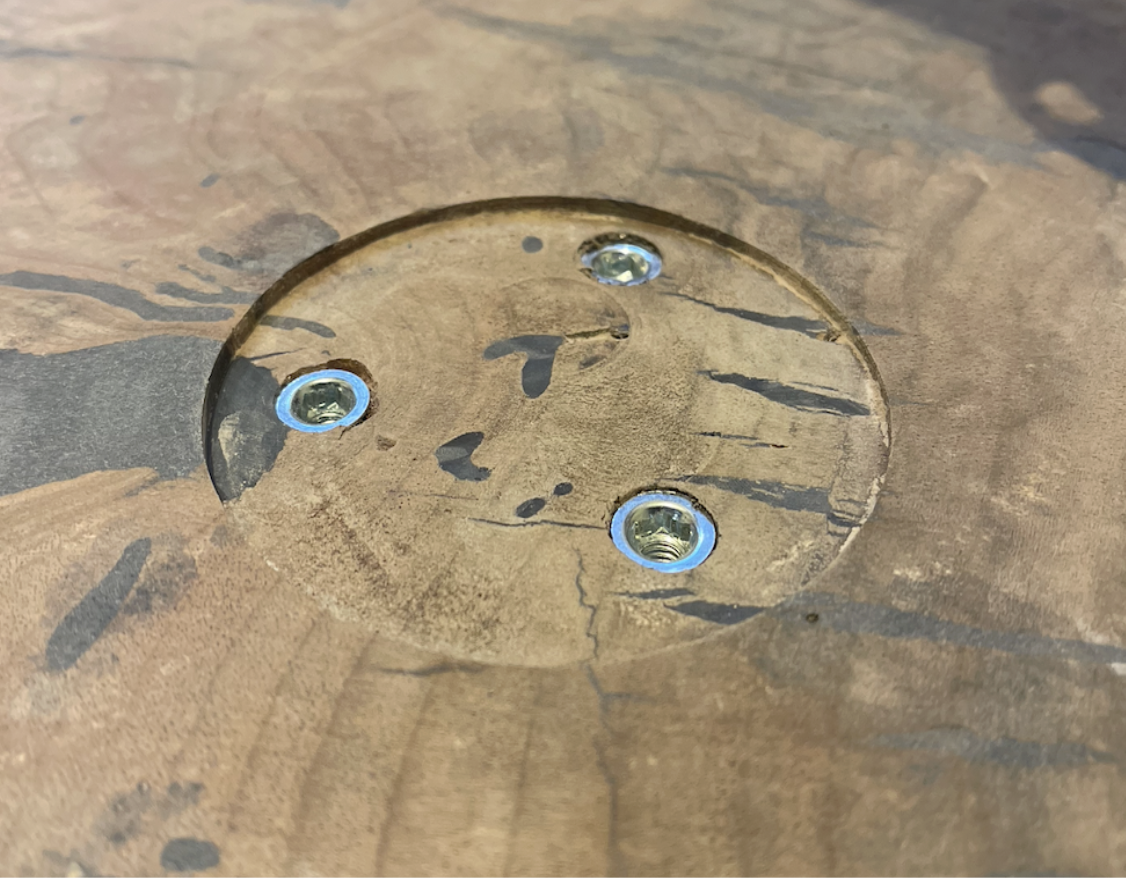
Recessed Section for Mounting Base